Sea Shell Crafting
So much more than meets the eye
Posted: September 08, 2016 by Honor Rudd
The use of shells for personal adornment is widely regarded as one of the earliest indications of modern thought. This sophisticated human behavior is postulated to have begun as early as 100,000 years ago based on shell beads discovered in caves in what are now Algeria and Israel. It’s nice to know some things never change, things like finding the beautiful, natural makings for fabulous DIY crafts on the very ground beneath our feet. But there’s more to shell crafting than meets the eye if you want to create a work of art that will stand the test of time.
Find Your Shells
First things first, if the shell is still someone’s home, leave it be. On many beaches, the removal of living specimens from their natural habitat requires a special license and is subject to a number of regulations, and on others it is just flat illegal.
According to NC law, the sandy stretch from the water line to the first vegetation is public domain on our beaches, so much of our 300 miles of coastline are available for shelling.
First light is the best time for shell collecting on popular NC beaches, as you’ll get first crack at shelling before the crowds show up. For the same reason, the off-season will generally turn up more worthwhile finds—also because the more-tumultuous storms that come our way during the winter months send more shells shoreward. In the calm days following rough storms, many of the shells churned up in the melee will ultimately wash up on shore.
Don’t overlook piles of sea grass. Although the slimy, brown grass doesn’t look so appealing, those bunches offer cushioning protection, so you are likely to come across impressive finds among their tresses that have been overlooked by the more casual shell hunter.
Clean Your Shells





Clean Your Shells
Even if you are very careful not to bring home any living shells, there is still sometimes organic matter within the shell’s nooks and crannies that will begin to smell. Beach shells should be cleaned thoroughly before you set to work.
If there is stuff inside the shell that you cannot remove with conventional methods (like a dental pick—the shell-crafter’s best friend) let nature take care of it for you. All you need is a heavy flower pot and a fire ant hill. Just place your shell on the ant mound and cover with the flower pot. The cover will keep other critters from carrying the shell away. Anecdotal evidence suggests that fire ant hills can typically have a shell cleaned out within a day.
Different schools of thought recommend different cleaning methods once any offending clumps of organic matter have been removed. Some boil their shells for several minutes, some soak their shells (sometimes even overnight) in a diluted bleach solution; others chose vinegar and water as a more eco-friendly disinfecting solution. Test whatever method you choose on a shell you don’t care about first to make sure your prized shells will withstand the process without harm.
Shine Your Shells
Some shells, like those from the Olivadae family (commonly called “olives”), have a glossy coating.

Others, like these cockle shells (below) have a matte coating, which will grow more and more dull as the shells age.

Shine Your Shells
Some shells, like those from the Olivadae family (commonly called “olives”), have a glossy coating.
Others, like these cockle shells (below) have a matte coating, which will grow more and more dull as the shells age.
Glossy shells should be left alone as further treatment will dull their exterior. Most shells, however, need a little love to keep that fresh-from-the-Atlantic shine. Many shells you come across will have a calcium buildup that dulls the shine. Careful work with a dental pick, a wire brush, and a little elbow grease will go a long way to remove barnacles and calcium deposits without damaging your shell.
If you are what some call a “serious sheller” and are concerned for the integrity of your shell, this is where your cleaning should stop, as further intervention will degrade the quality of your specimen. That said, if you’re just in it for the crafting, there are ways you can kick your shell’s shine up a notch.
Seashells are made up of the same compounds that ultimately dull their exterior, and therefore the same products that help restore their shine will eventually eat away the shell in its entirety if they are too concentrated or left on too long. Shells should always be rinsed thoroughly after treating to remove any residues that could continue to erode their surface.
One of the milder methods to remove deposits on shells is soaking in a denture cleaner bath. Place the shells in a shallow dish. Add two anti-bacterial denture tablets (the kind with baking soda) to a glass with enough water to cover the shells. Pour the fizzy solution over the shells in the dish until they are covered. Let the mixture sit for 30 minutes, then remove the shells and rinse them thoroughly. You might need to do a little scrubbing, but any leftover deposits will be softened and easier to remove.
Another common product for shell cleaning is CLR (Calcium, Lime, Rust) cleaner. Shells can be soaked in this solution for a few minutes or until the deposits begin to dissolve. Some suggest diluting the cleanser to a ratio of sixty-percent CLR to forty-percent water. Diluting will make the process take longer, but will be less likely to damage small, fragile shells.
If you want quick and extreme results, there are stronger, acid-based products available, but they require safety equipment, and an involved clean-up and disposal process.
Oil or Paint Your Shell
Oil or Paint Your Shell
Once the unsightly deposits have been removed, your shell will gleam like new, but as time passes it will grow dull again without further intervention. Shell crafters are divided on the best method of restoring and maintaining shine—some oil their shells, and some paint them
Some recommend baby oil, while others insist mineral oil is the only viable choice. Cooking oils should not be used as they will go rancid and discolor over time. Apply the oil with a soft tooth brush to get into the groves of the shell for full coverage, let the oil sit on the shells overnight, and then buff with a soft rag.
Some shell crafters recommend using a solution of half mineral oil, half lighter fluid. The lighter fluid makes the mineral oil less viscous and it can therefore penetrate more easily into the shell’s porous surface. It also evaporates more readily, leaving the shell drier and less sticky, so it’s less of a dust magnet.
If you would rather paint your shells for a permanent shine, spray-on is the easiest way to go. Some recommend an acrylic spray, others an indoor/outdoor urethane. Inquire at your local hardware store as to which acrylics are non-yellowing so your shell will keep its true color over time.
Shell Crafting
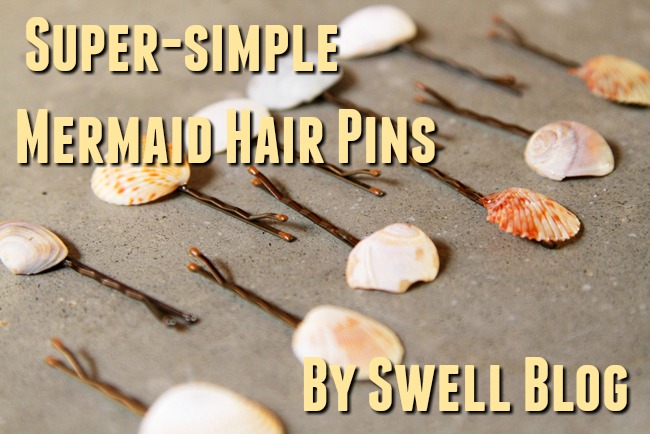
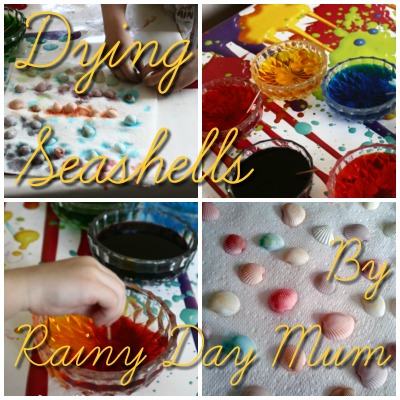
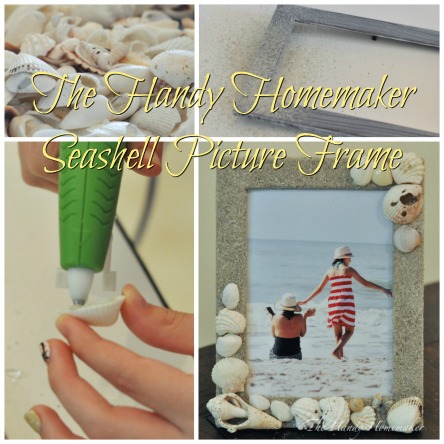
Click the photos below for tutorials that walk you through these fun projects. Happy shelling!
Shell Crafting
Click the photos below for tutorials that walk you through these fun projects. Happy shelling!
Loading Comments

